I had the option of purchasing a rack for around $300 and was determined to do just that. But decided to give it ago and try to make one of my own V-Strom soft pannier rack.
I don’t have a pipe bender or a welding machine but I decided to give it a go anyway.
So… I asked around for a pipe bender and one of my good friends happened to have one.
I formulated a raw plan in my head about what should I do and how to do it. I thought that for $300 might as well buy a welding machine and stick with it after the project is over.
So here I am, with some ideas in my head and didn’t know where to start exactly. I went to Bunnings (a local store) and after having a bit of a look around pipe isle I decided to purchase a 16mm steel tube for $15. This is the one: http://www.bunnings.com.au/metal-mate-16-x-1-2-3m-galvanised-steel-round-tube_p1130451
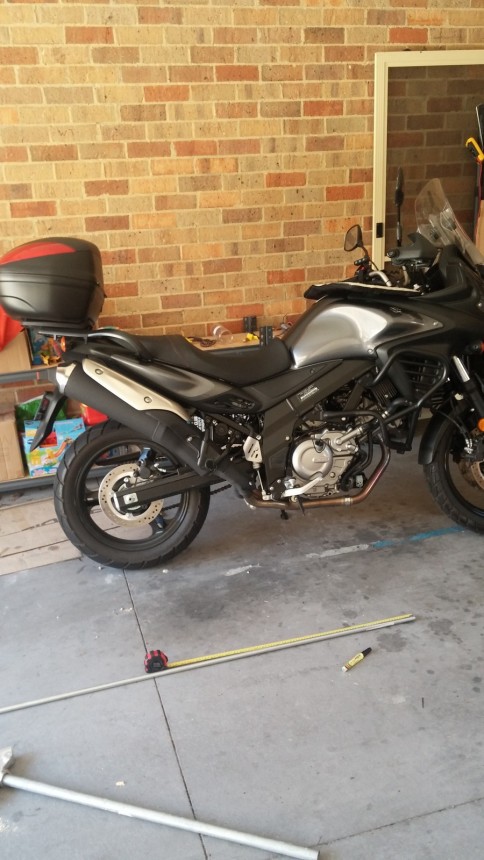
As you can see in the picture above, I tried to take some measurements but I was hopless so I just gave it a go and did it by eye measurements.
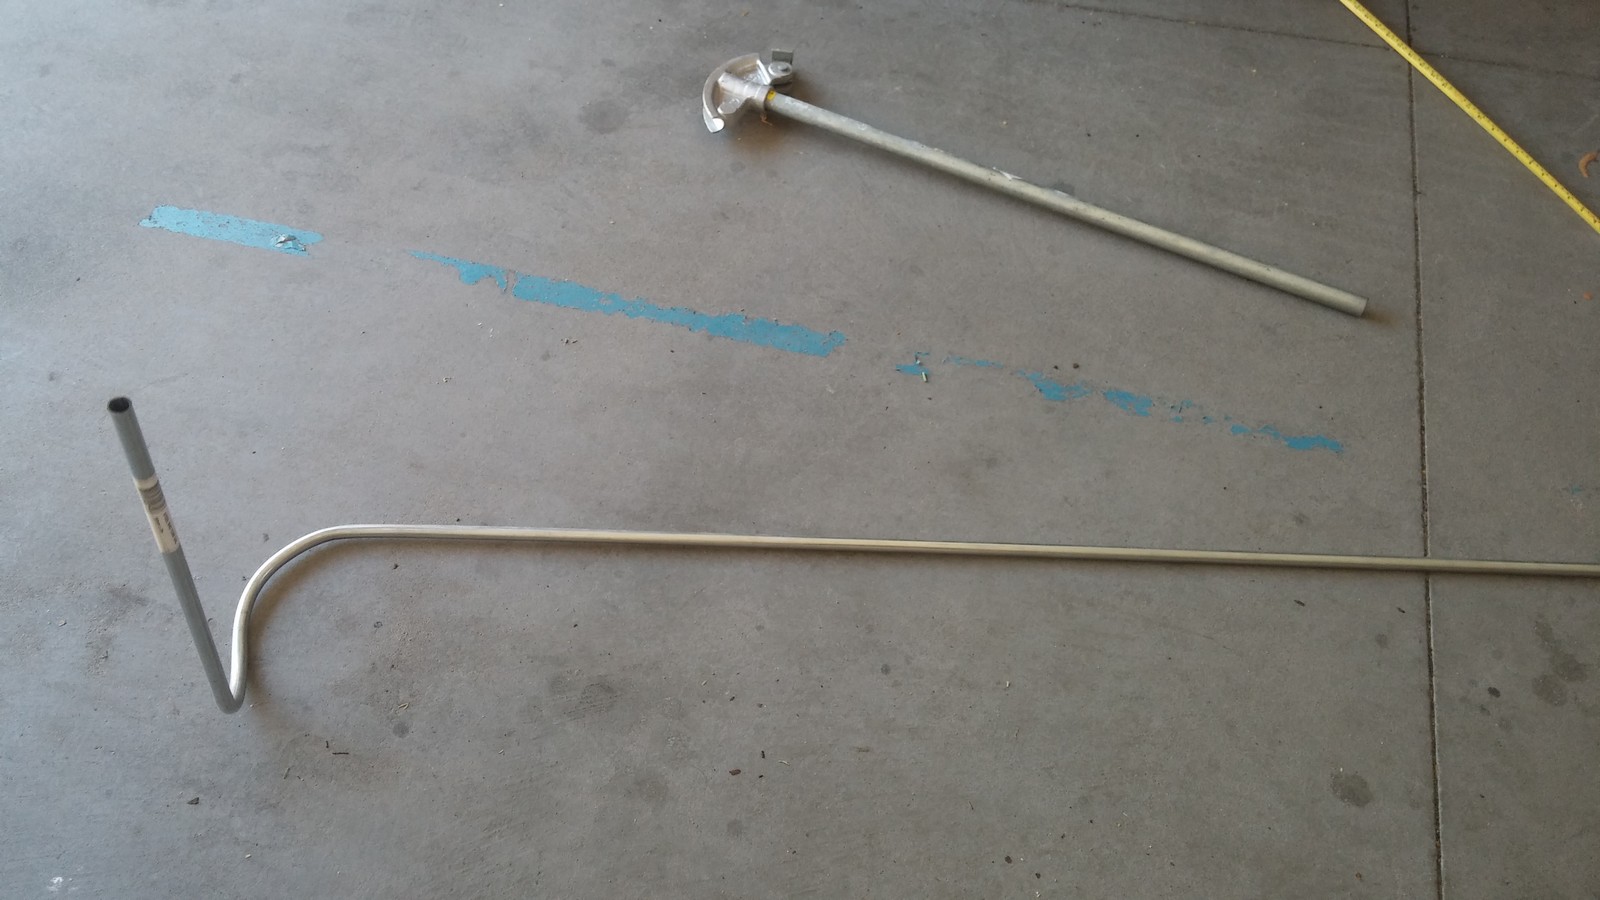
I’ve bent the pipe twice before doing anything, just with a schematic in my head. I must admit, the fact that I purchased a steel pipe made and the fact that I was alone whilst doing this, made things pretty difficult.
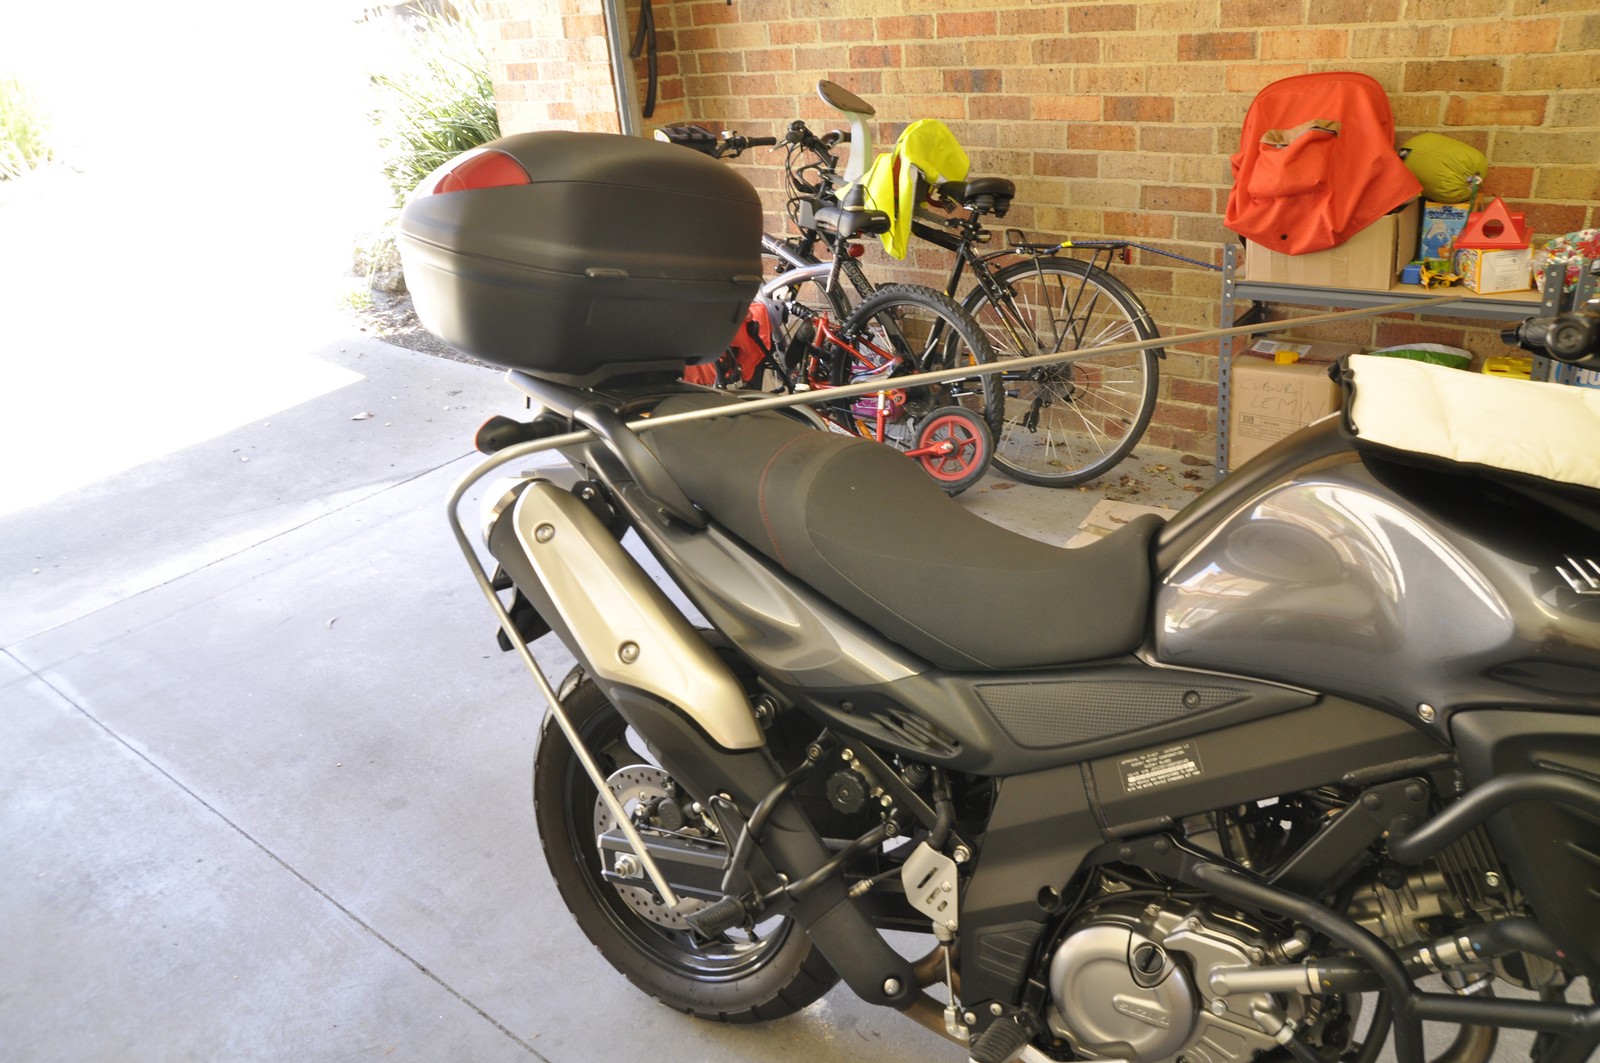
In the picture above you can see how I actually measured the length of the pipe. I’ve just put some marks on the pipe with a permanent marker.
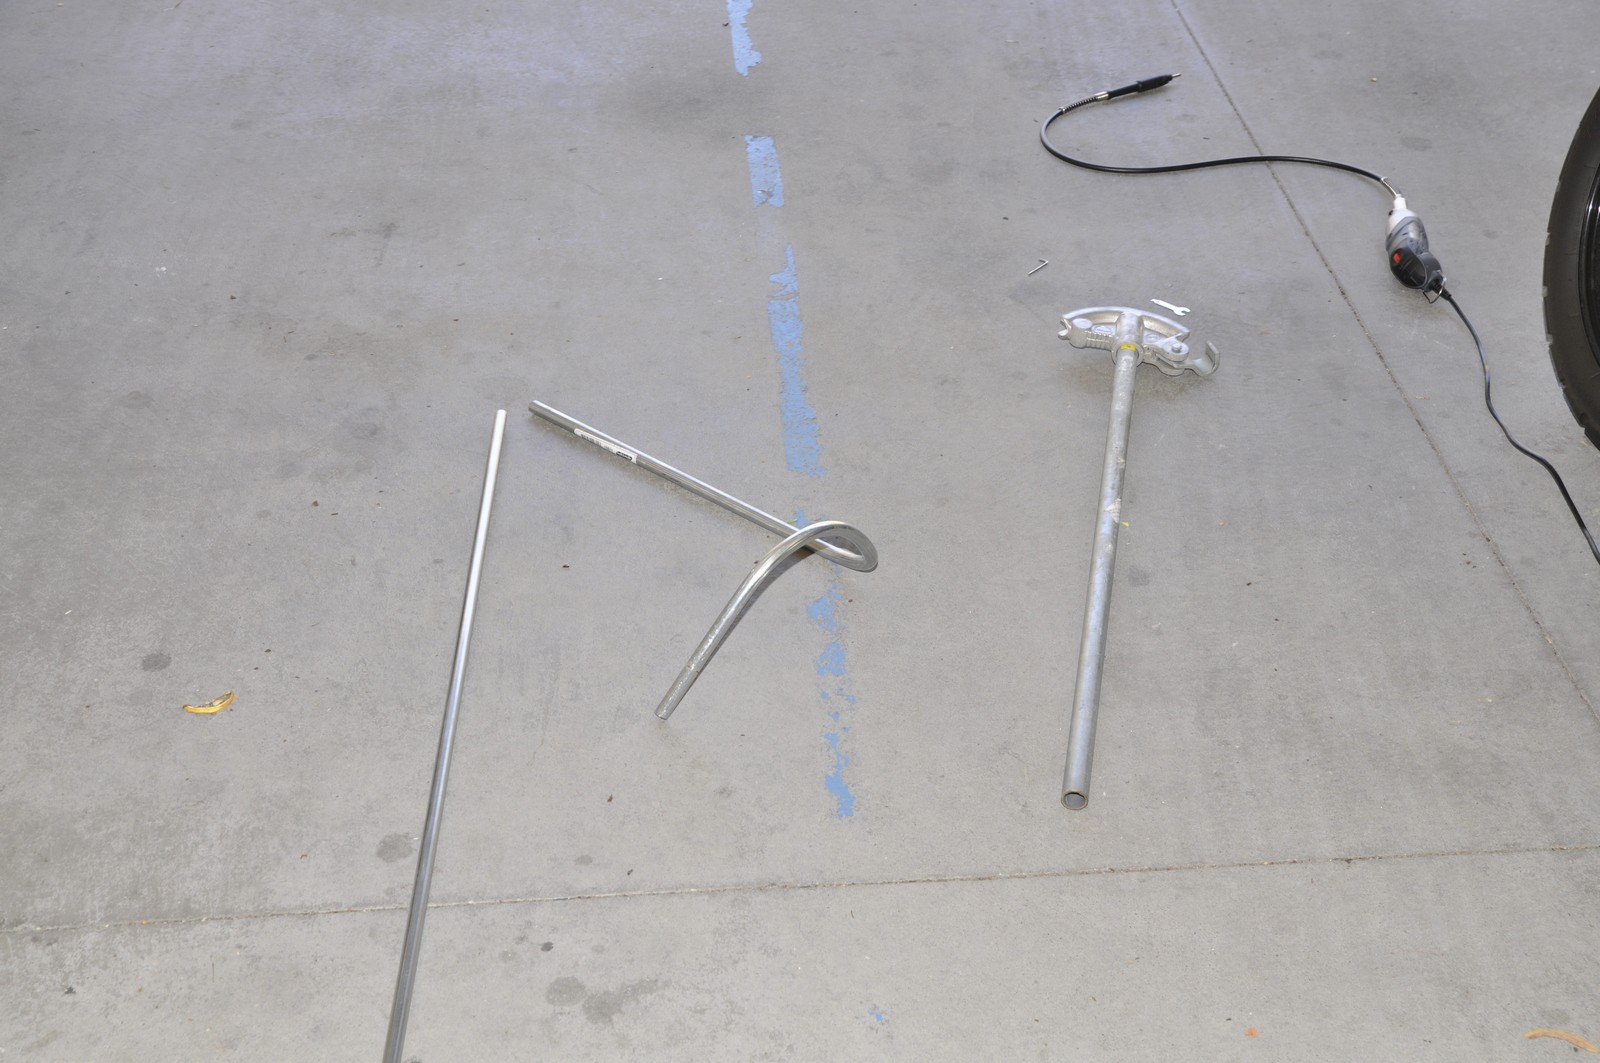
I used the rotary tool I purchased to build the radiator guard. Cheap and effective tool. Not the fastest but does the job.
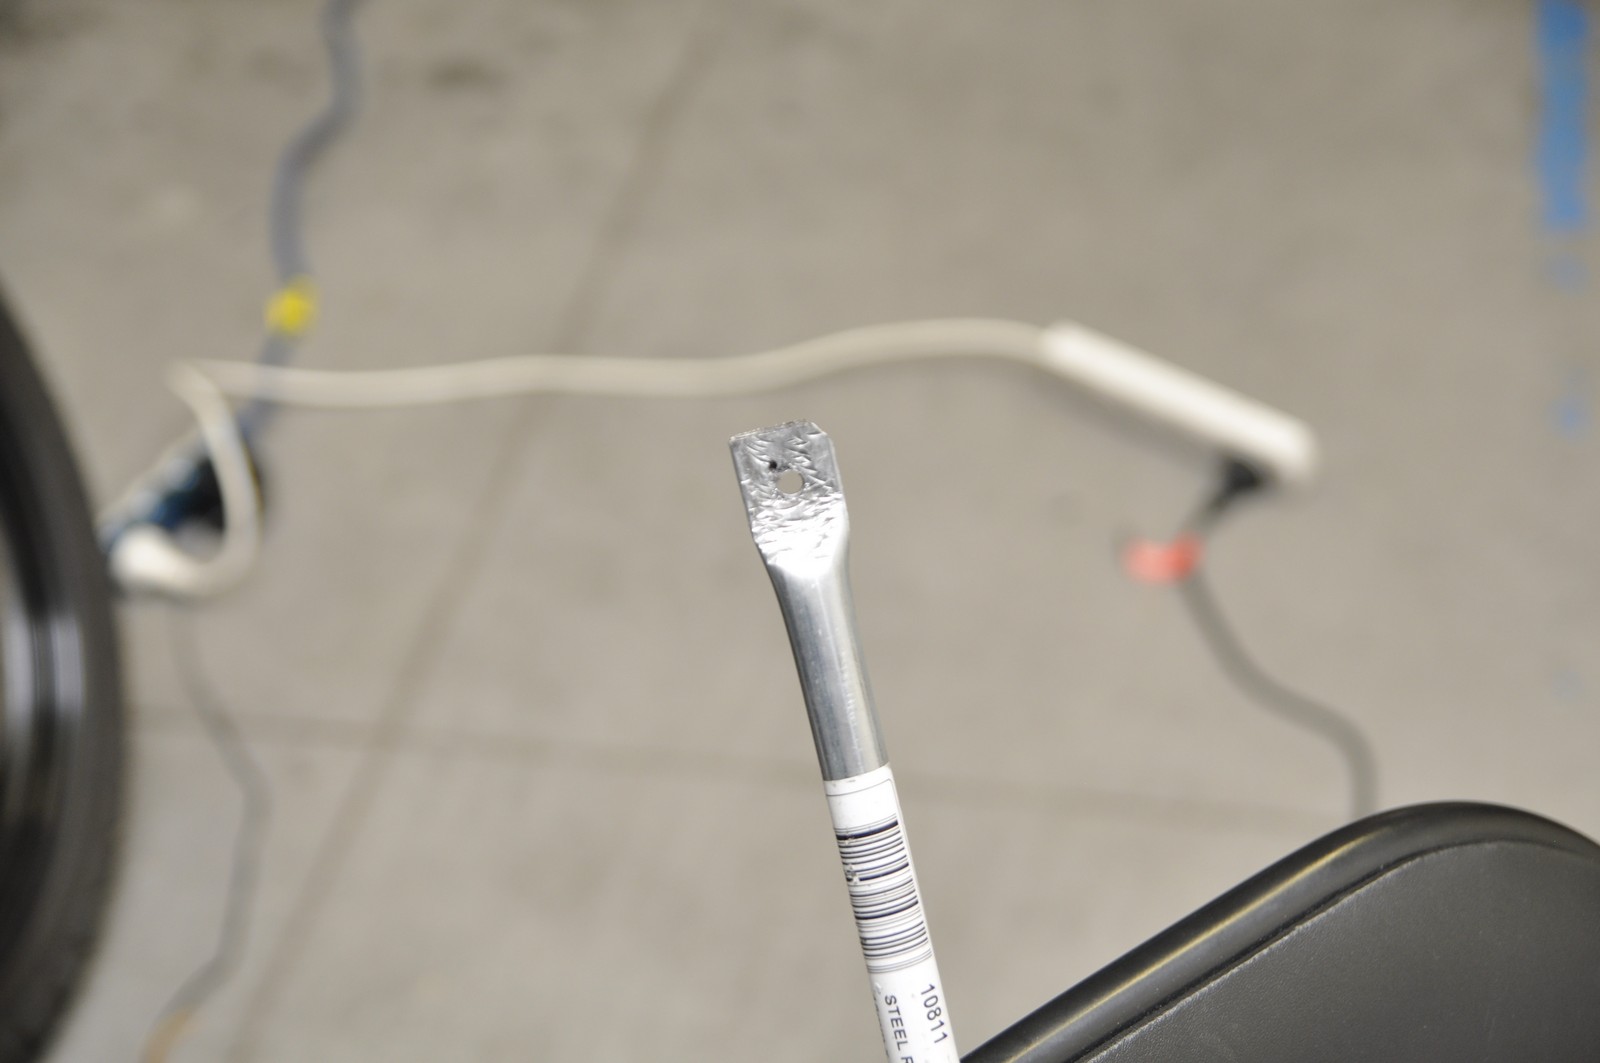
The be able to make the holes to put the screws in, I had to made the pipe flat at the ends. Unfortunately, the only tool I had for the job was a hammer I purchased from IKEA some years ago. Again, was a bit slow but did the ob perfectly.
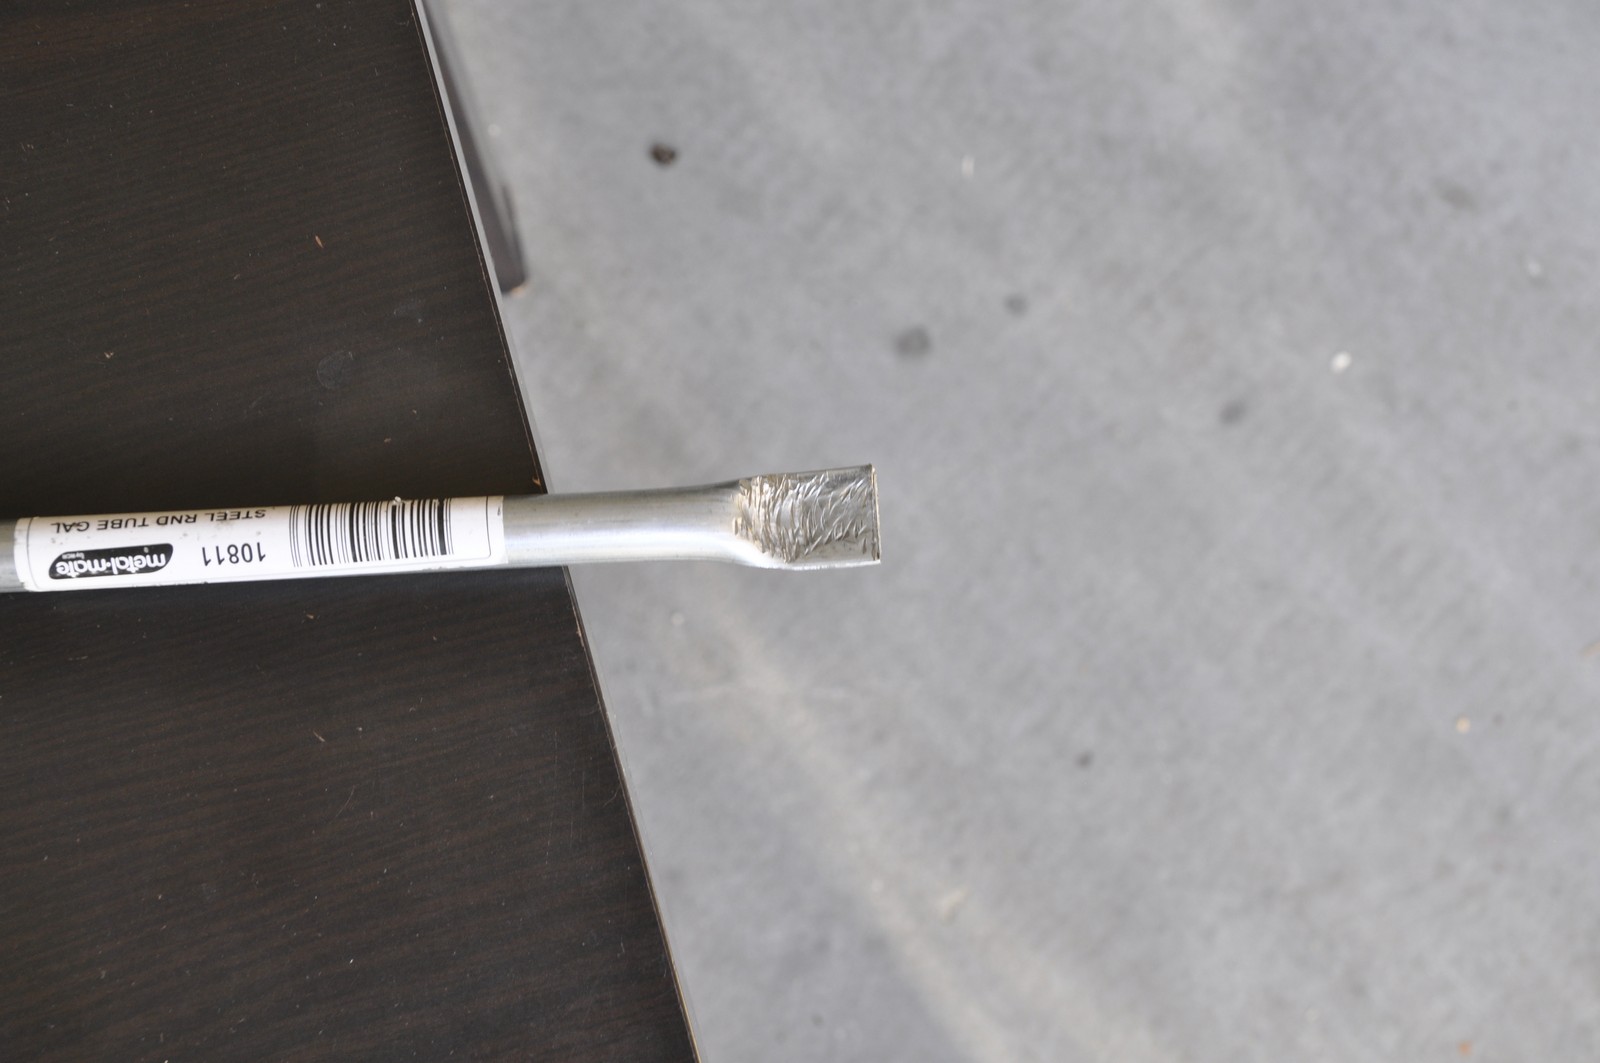
The part that was hit with the hammer is not as smooth as the one that was flat on the ground as you can see in the picture below.
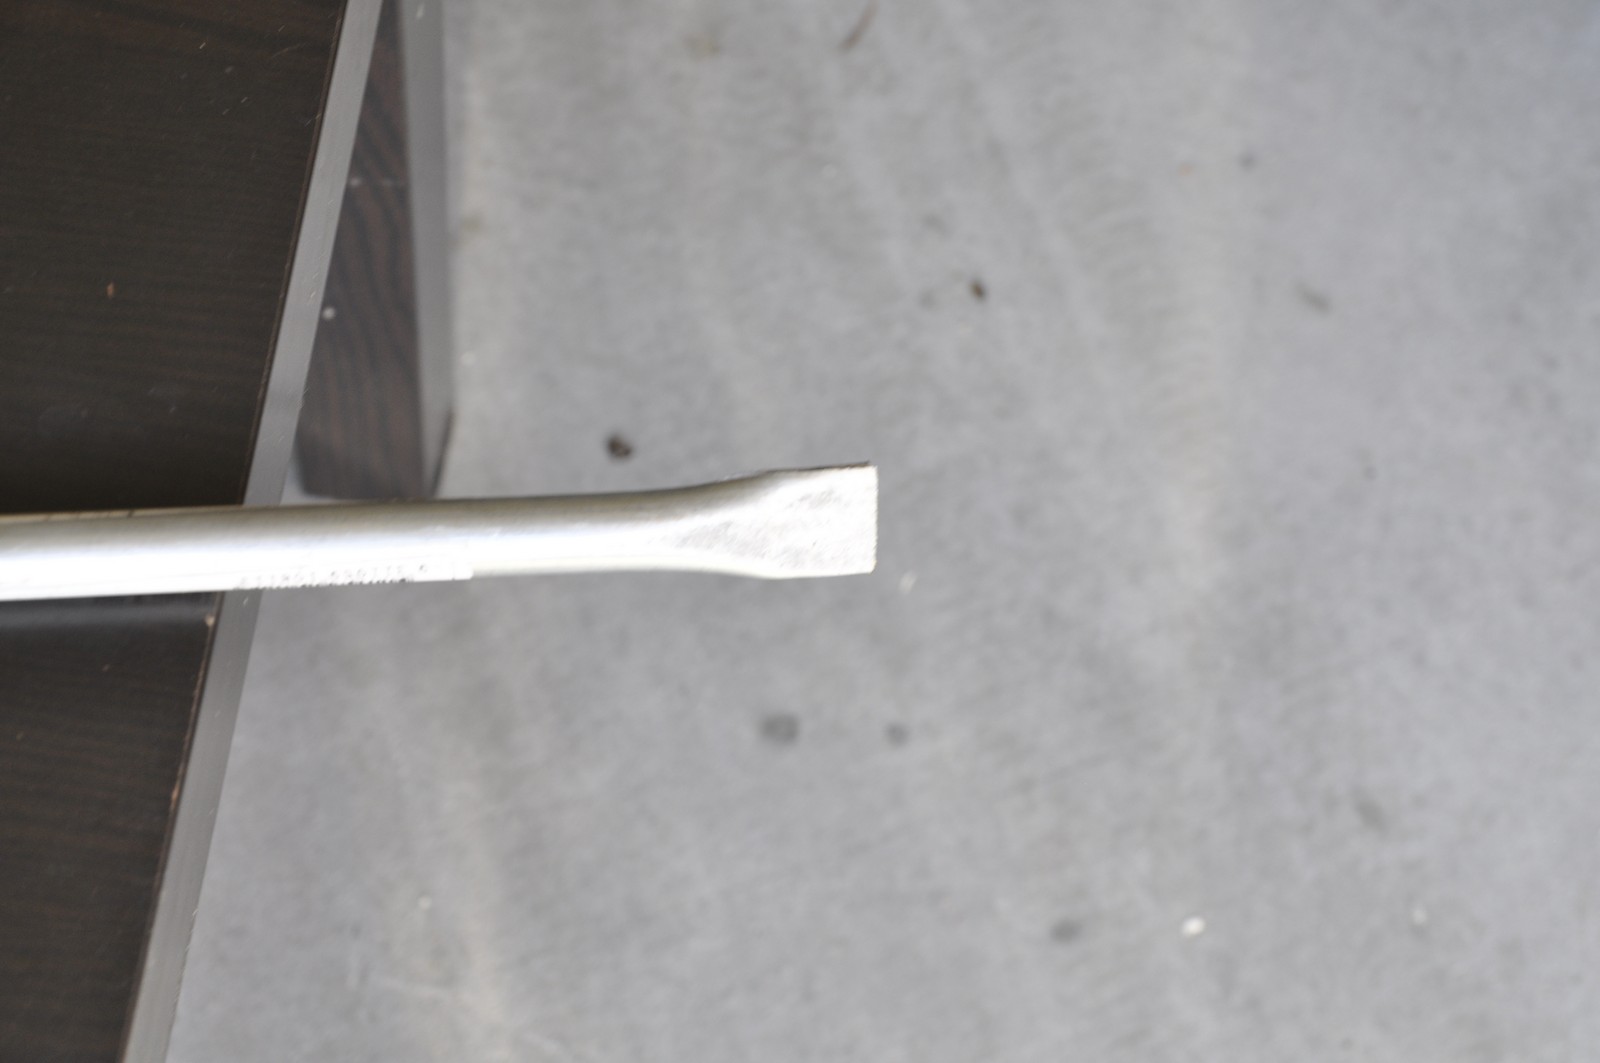
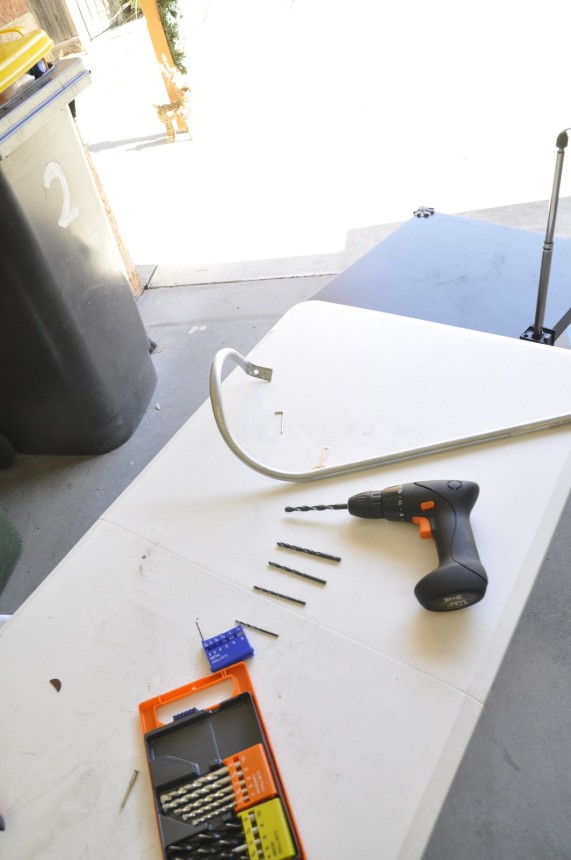
To cut the hole, I’ve used the only tool for the just I had, an electric screwdriver, again purchased from IKEA some years ago. Not the fastest but did the job quite well. You just need to persevere with the drilling…
After drilling the pipe, I’ve cut the excess to my needs..
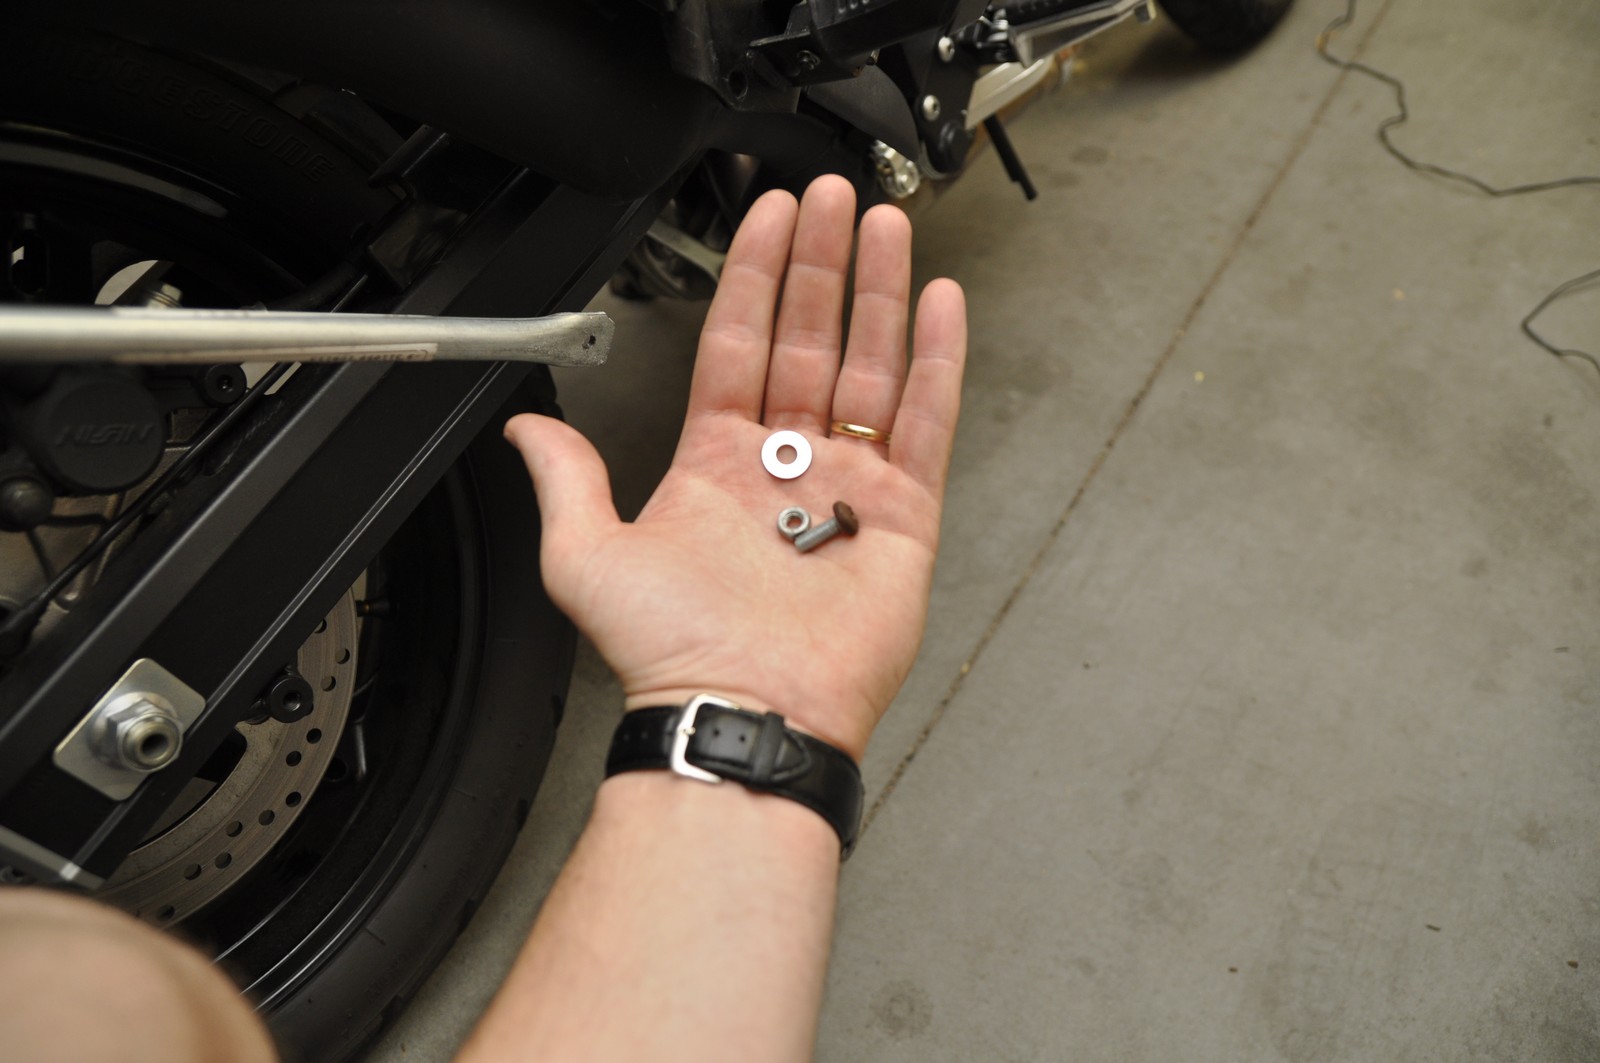
The only screw I found in my garage was an old, rusted screw. I’ve used it for the time being just do finish the job and then purchased one for a permanent solution.
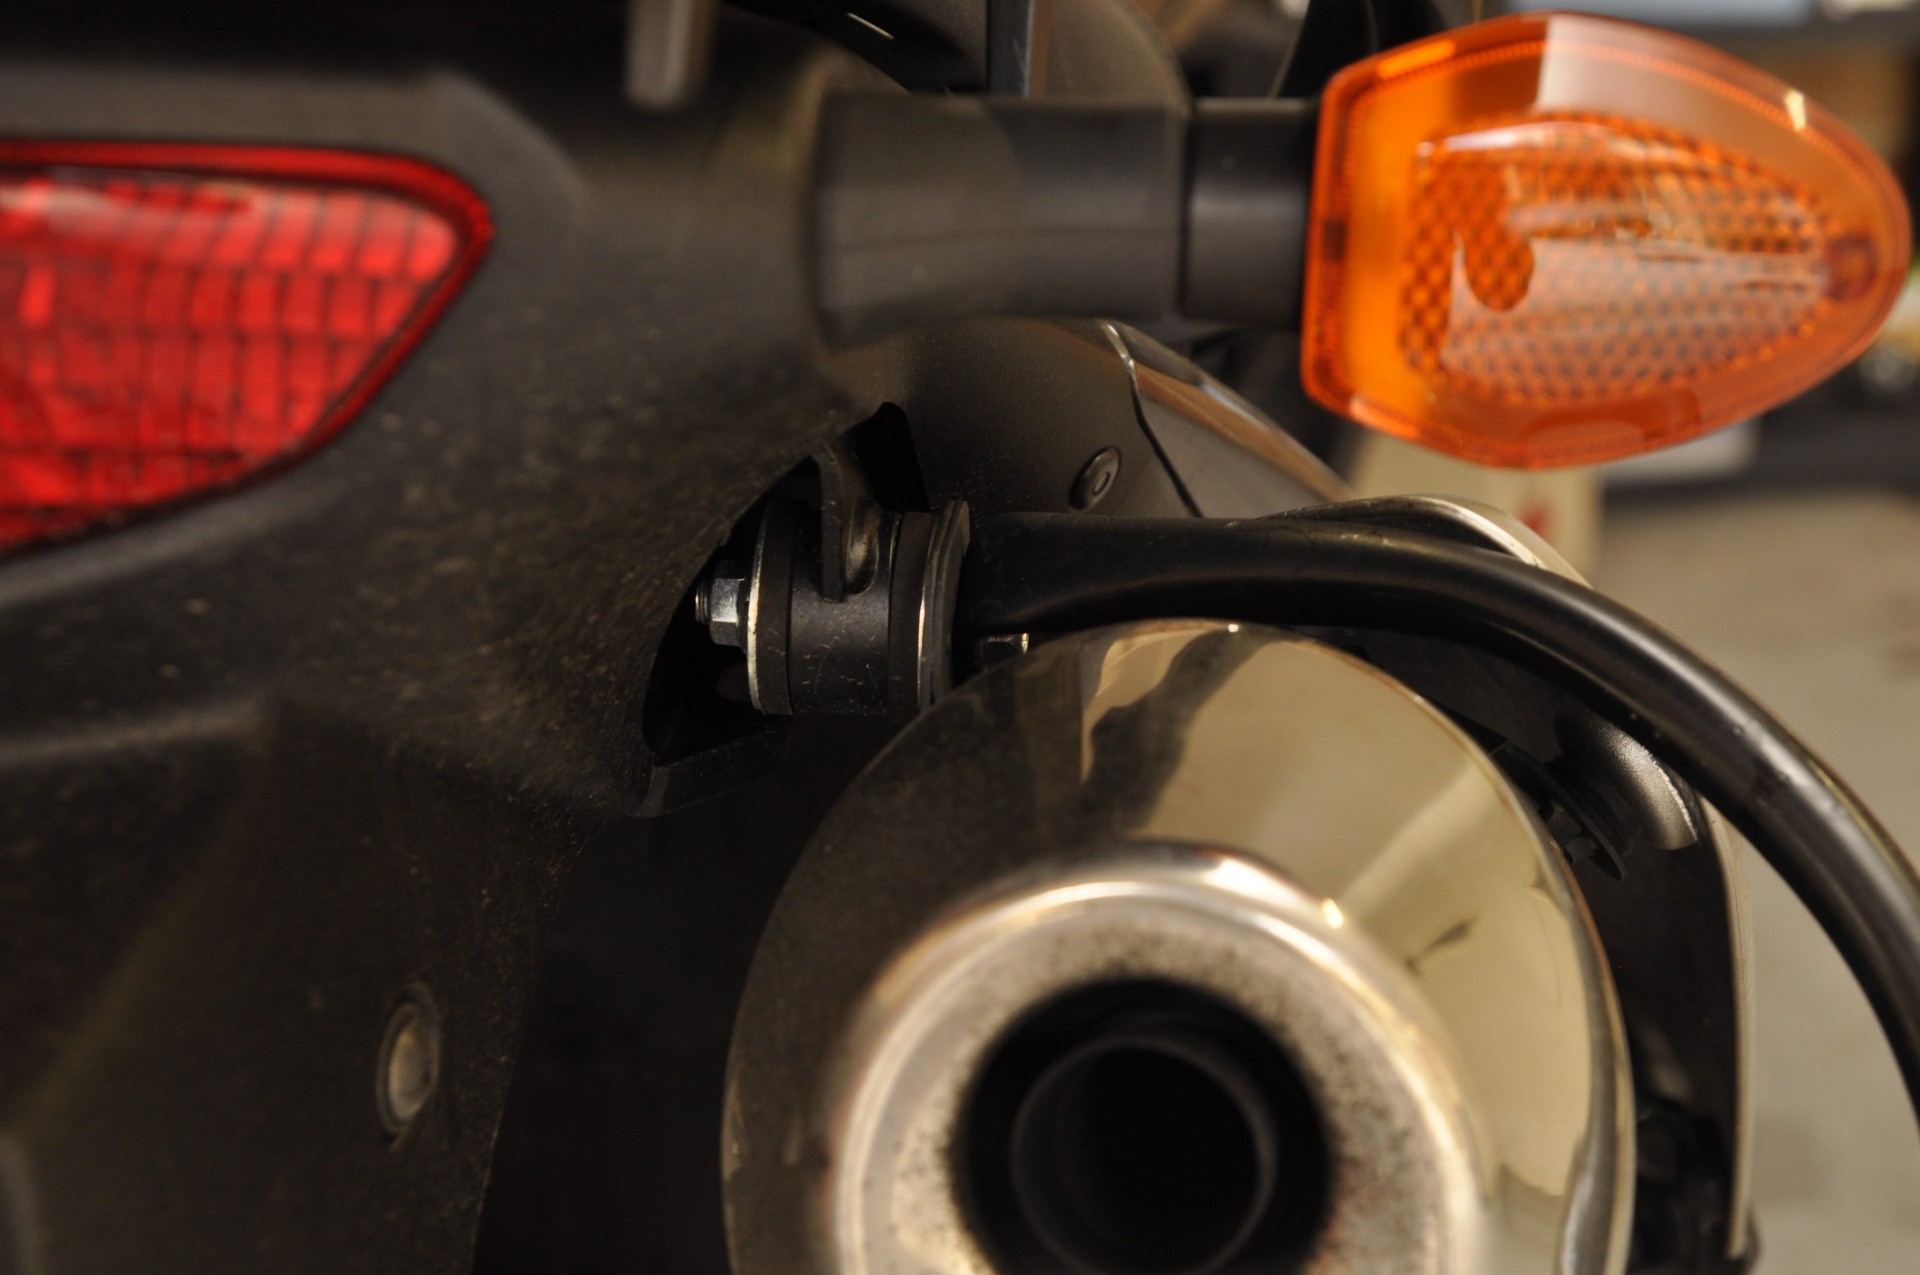
At the other end, I’ve used the same process as above. The only didfference is that I’ve used the hammer to bend the pipe at 90 degrees so I can screw it in place.
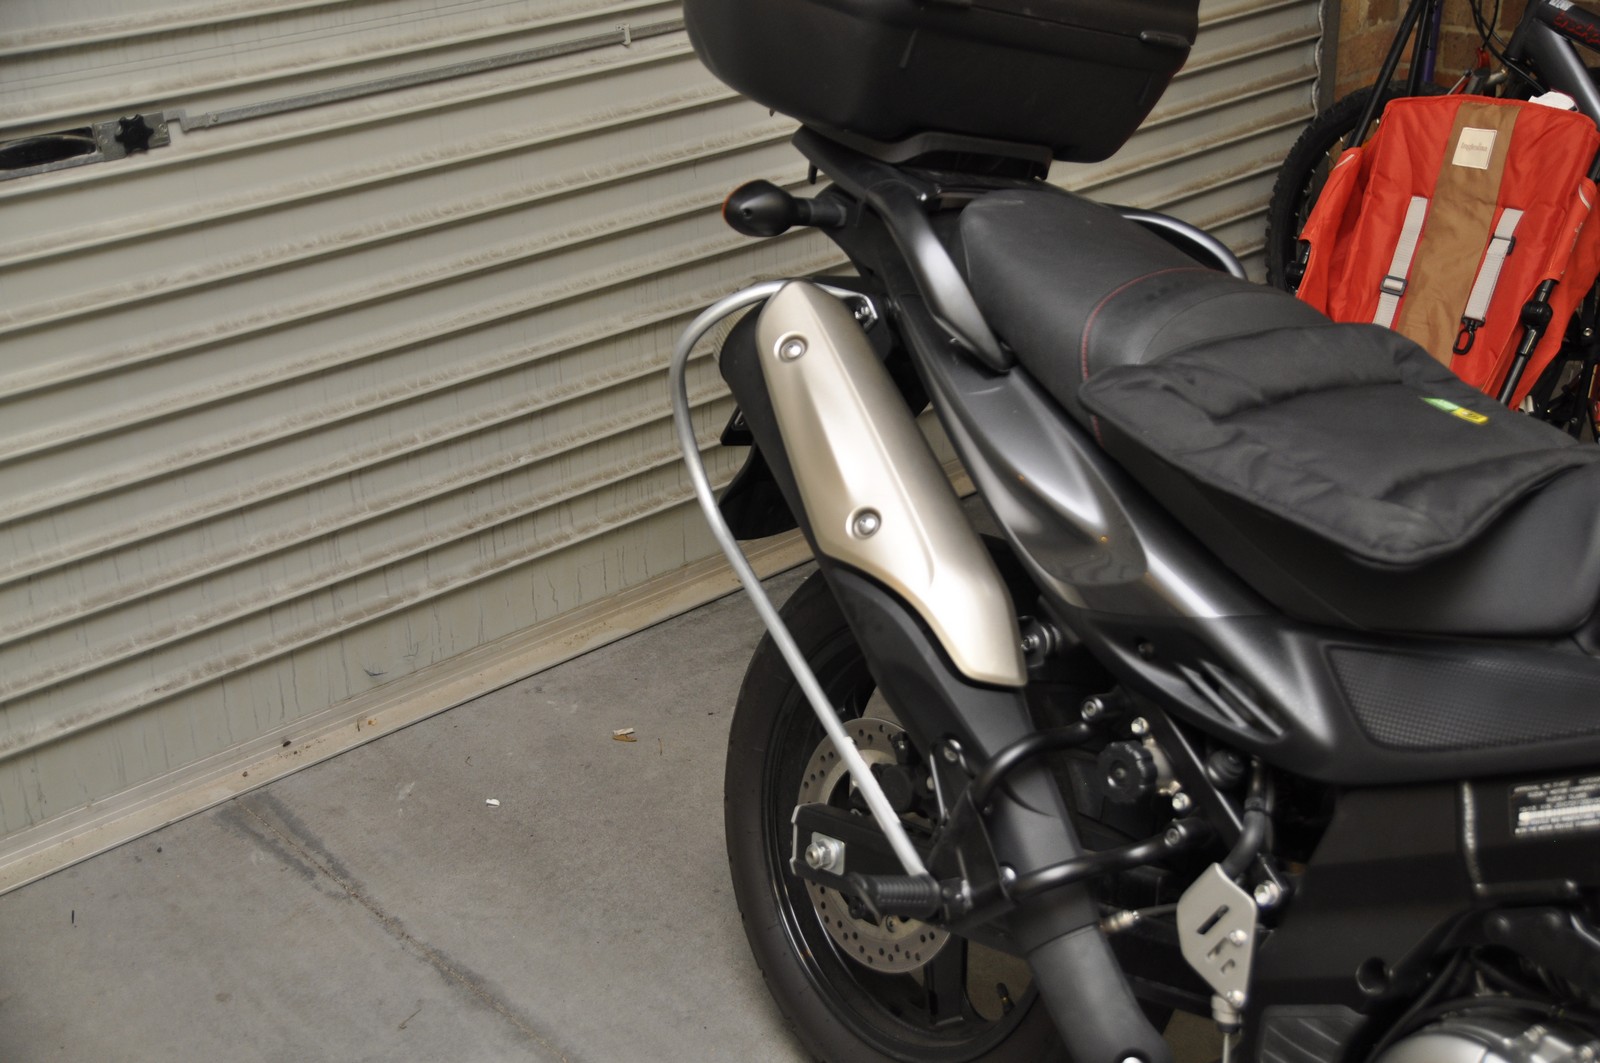
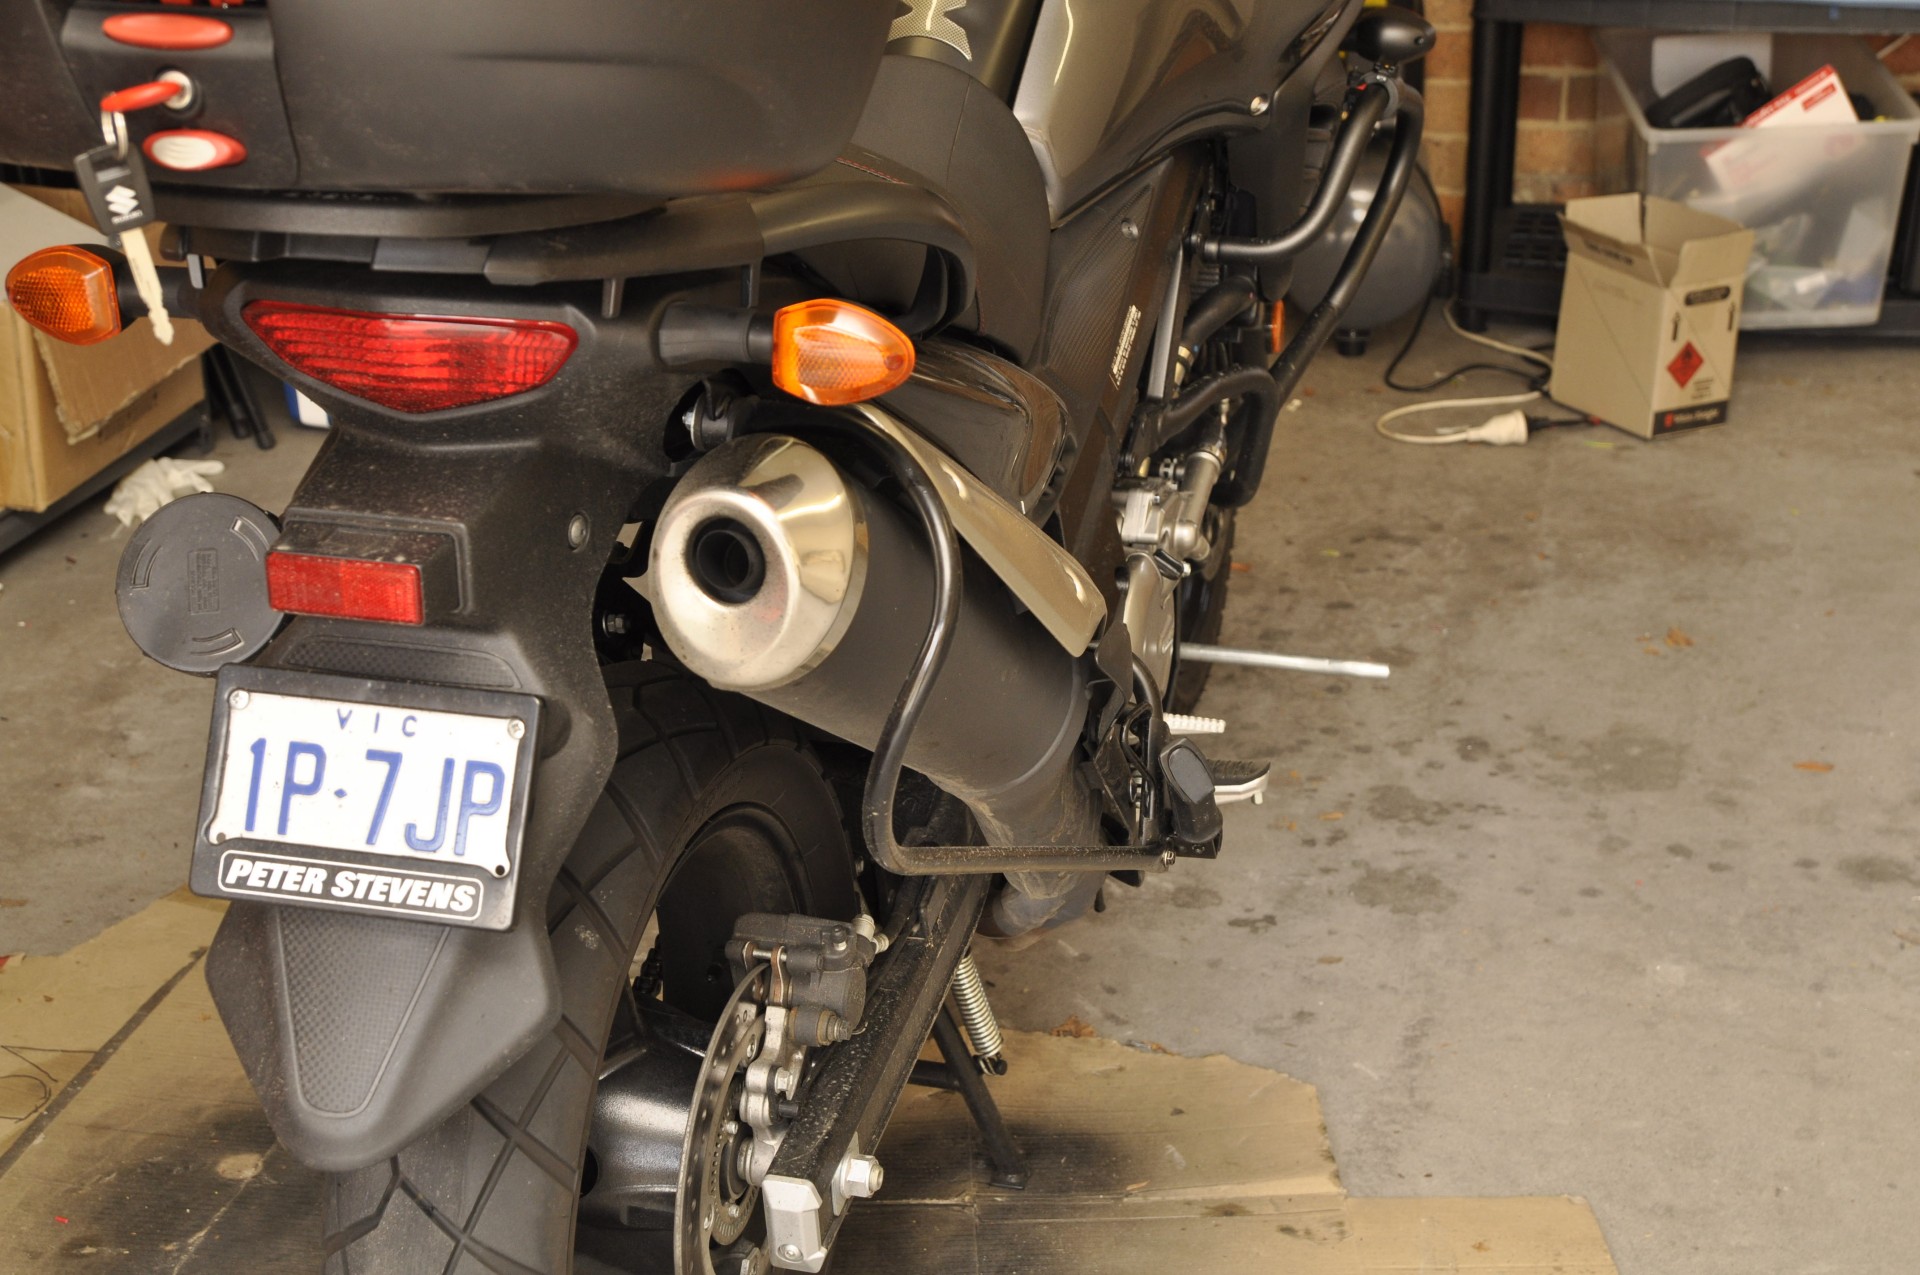
I have unbolted the pipe, added recently made rack, and bolted back using the same screws. Works awesome !
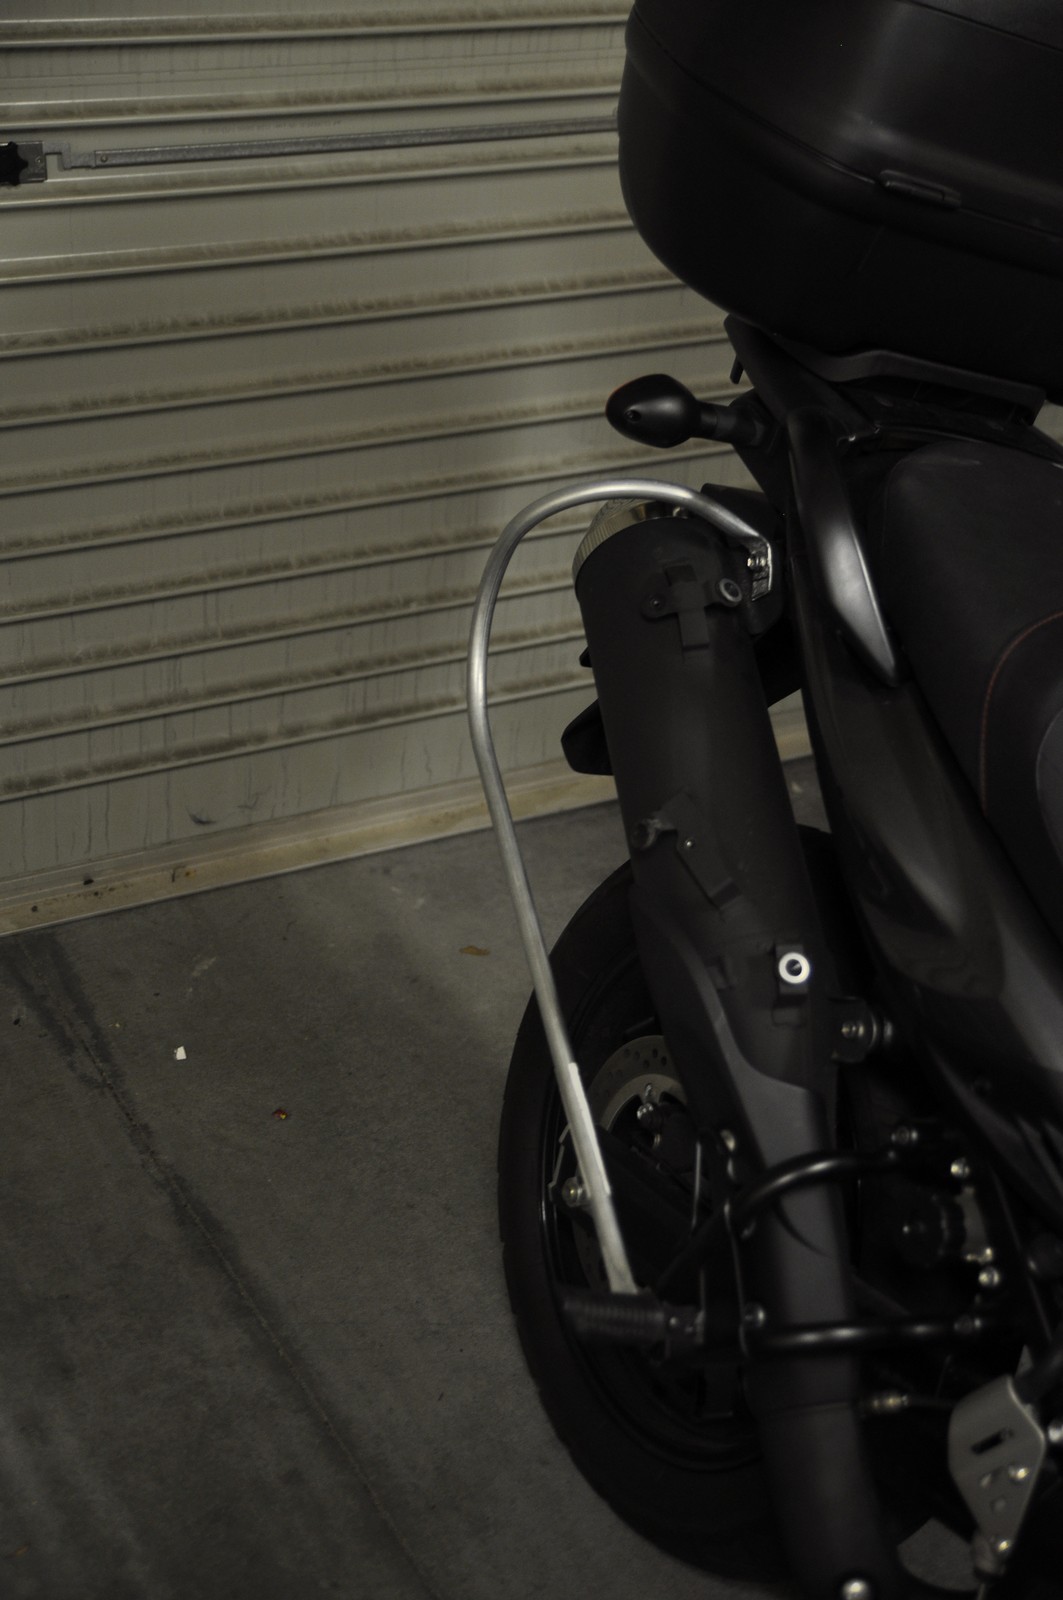
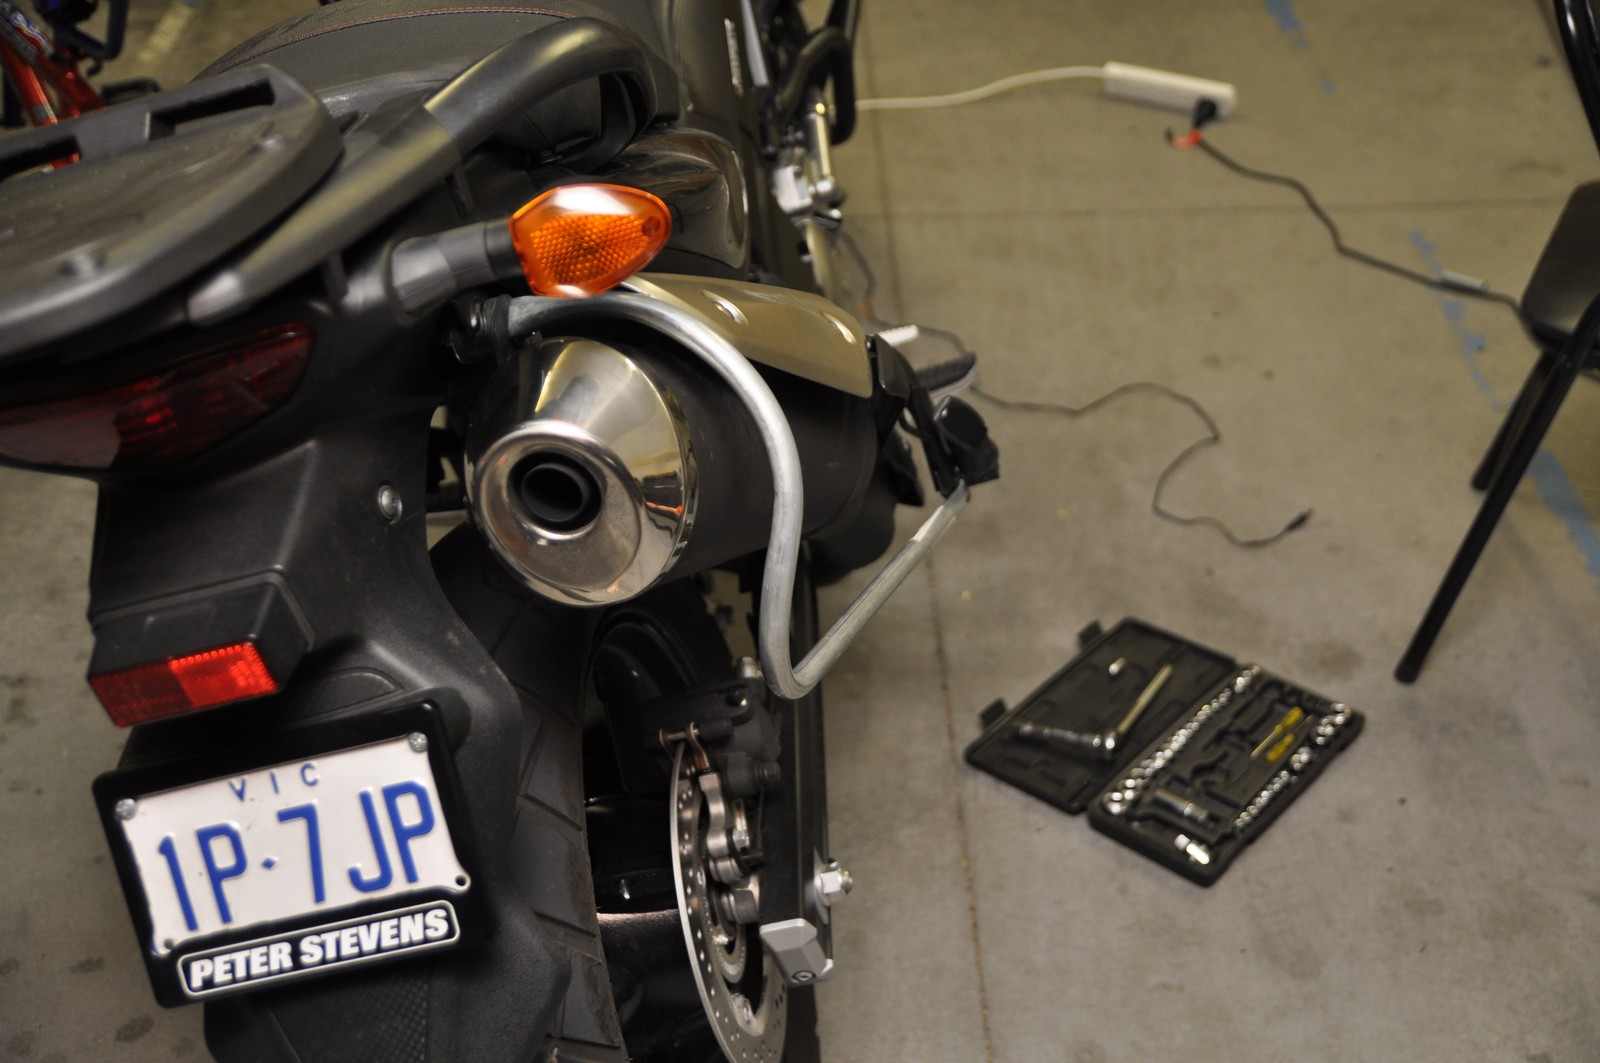
You can see below the final result. Looks like OEM ! So proud, I just hope it works…
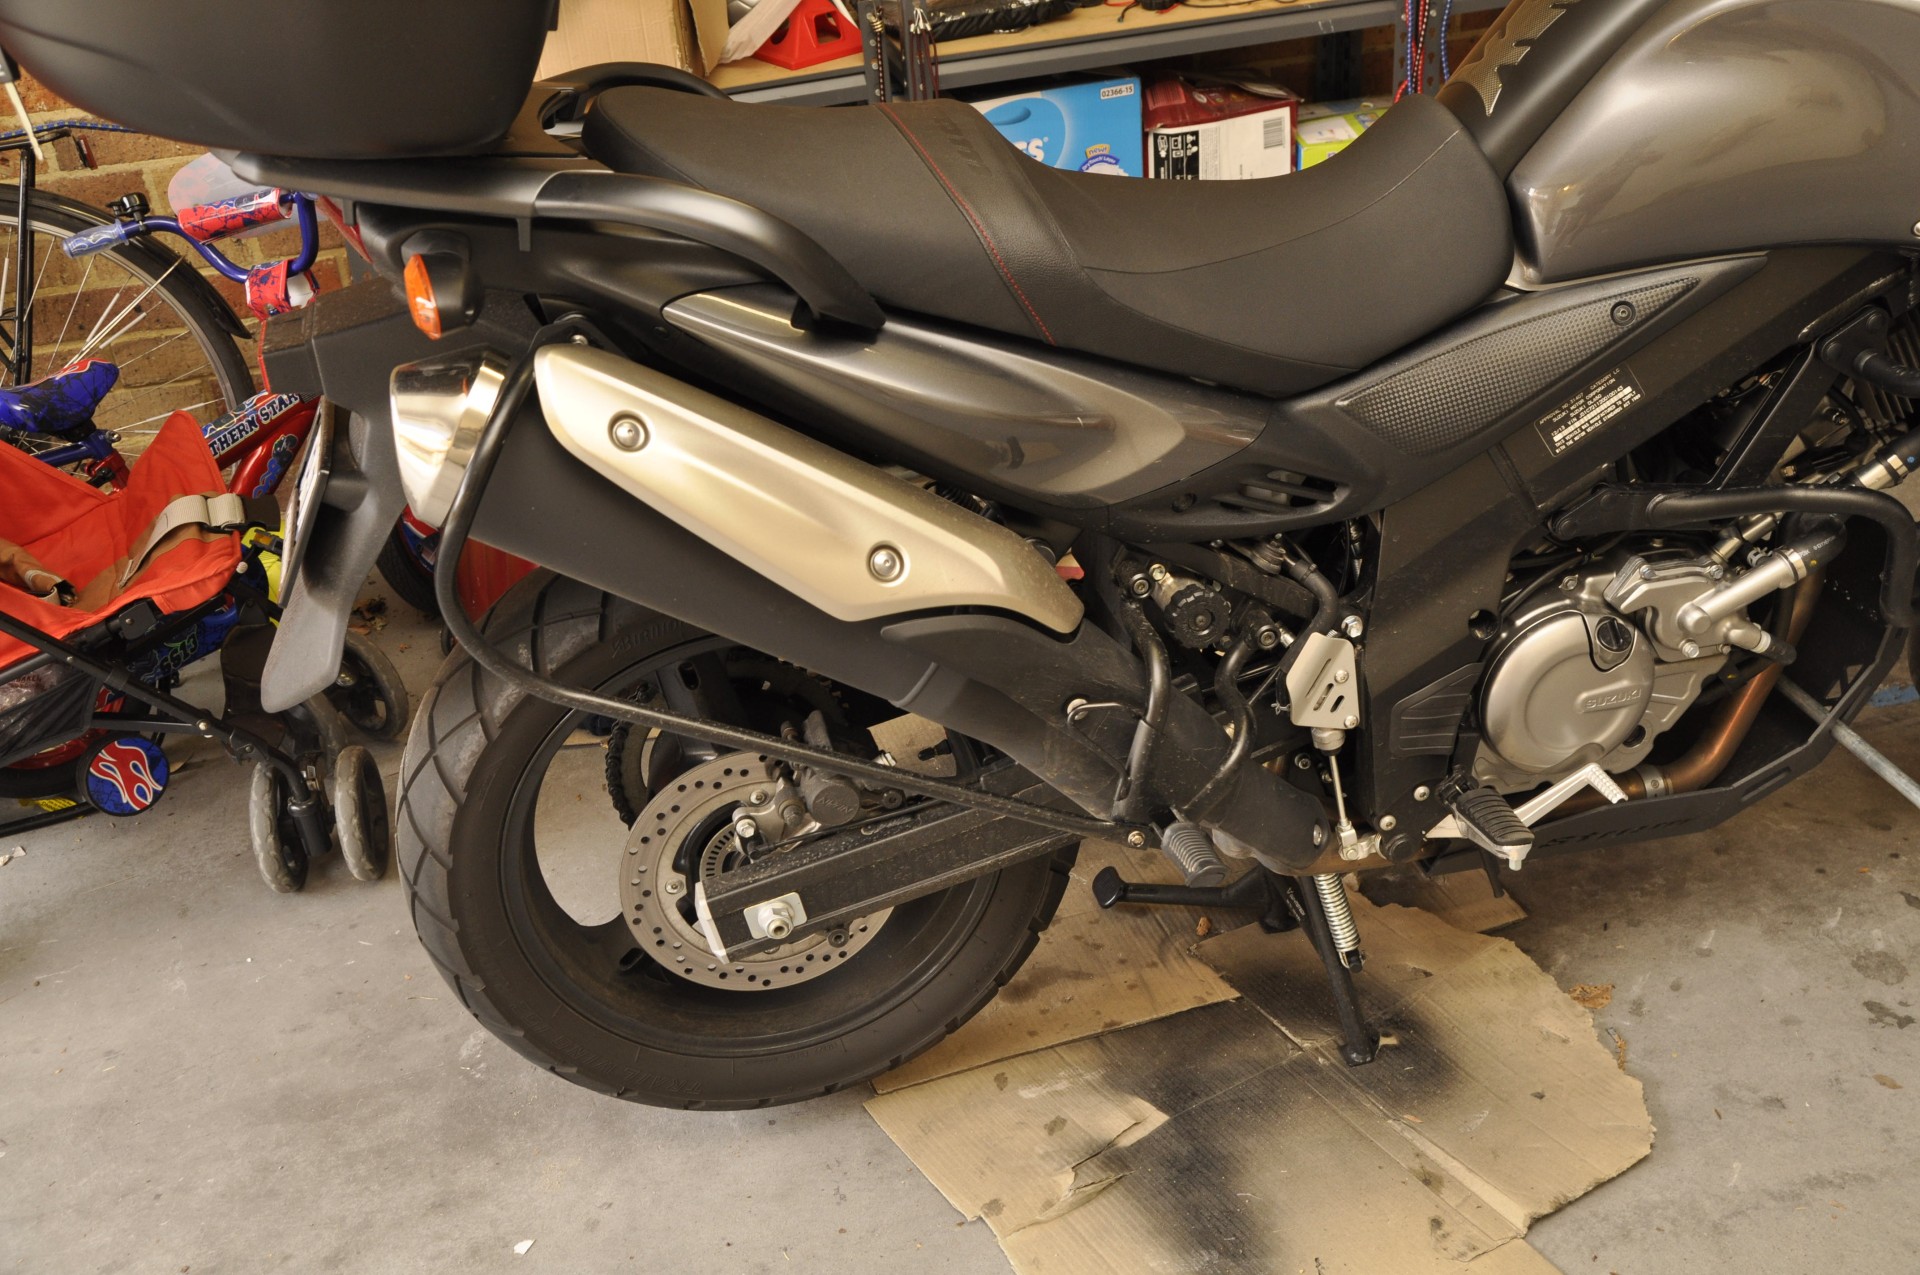
This is the final result to my DYI rack. It took me about 6 hours to make it, including coffe breaks and plus the fact that outside were 40+ Celsius.

One thought on “DIY V-Strom soft pannier rack (right)”